These structured math frames grew out of a common and persistent challenge: visually impaired and blind students often struggle to learn the vertical alignment of numbers required for addition, subtraction, and especially multi-digit multiplication. For sighted students, graph paper or lined columns provide an immediate visual guide to keep digits under one another. A student using a Perkins braillewriter, however, must manage both the math and the tactile formatting simultaneously — keeping place value columns aligned while also composing braille. That extra layer of formatting work frequently competes with the cognitive load of solving the problem itself.
Multiplication introduces a particularly tricky hurdle: when multiplying by the tens or hundreds digit a student must conceptually and physically “add” zeros to the far right of intermediate partial products before summing. On a Perkins braillewriter this means the student must either pre-format the line with trailing placeholders or later shift focus to ensure zeros are placed correctly — a task that interrupts the math and increases errors. These frames are intended to reduce the burden of braille formatting so the student can concentrate on the mathematical reasoning rather than the layout mechanics.
Why structured frames help
- Reduce formatting burden — students focus on math, not tactile layout.
- Support place-value understanding — aligned columns make tens/hundreds/thousands concrete and tangible.
- Enable independent practice — frames guide correct alignment so students can work without constant instructor correction.
- Work with multiple notations — frames support UEB, Nemeth, and print so classrooms can use the tool that fits each student’s needs.
What students gain
- Faster, more confident multi-digit computation.
- Better retention of alignment and place-value concepts.
- Ability to check their own work by feeling the column structure.
- Experience with reusable, hands-on learning tools that demystify “how sighted students use graph paper.”
Features
These are simple, ready-to-use frames that help students line up numbers the way they do on graph paper. Each frame supports addition, subtraction, multiplication, or division and shows separate columns for ones, tens, hundreds, and thousands so digits stay under the correct place value. A clear spot is provided for the operation sign (plus, minus, times, divide) so students only need to focus on the math, not the layout.
For addition and subtraction the frame includes a horizontal line to separate the problem from the answer area. The multiplication frame provides extra rows for the intermediate partial products and a final answer line, making it easier for students to place digits and trailing zeros in the right spot. Division frames include a tactile long-division area with space for the divisor, dividend, partial quotients, and final answer.
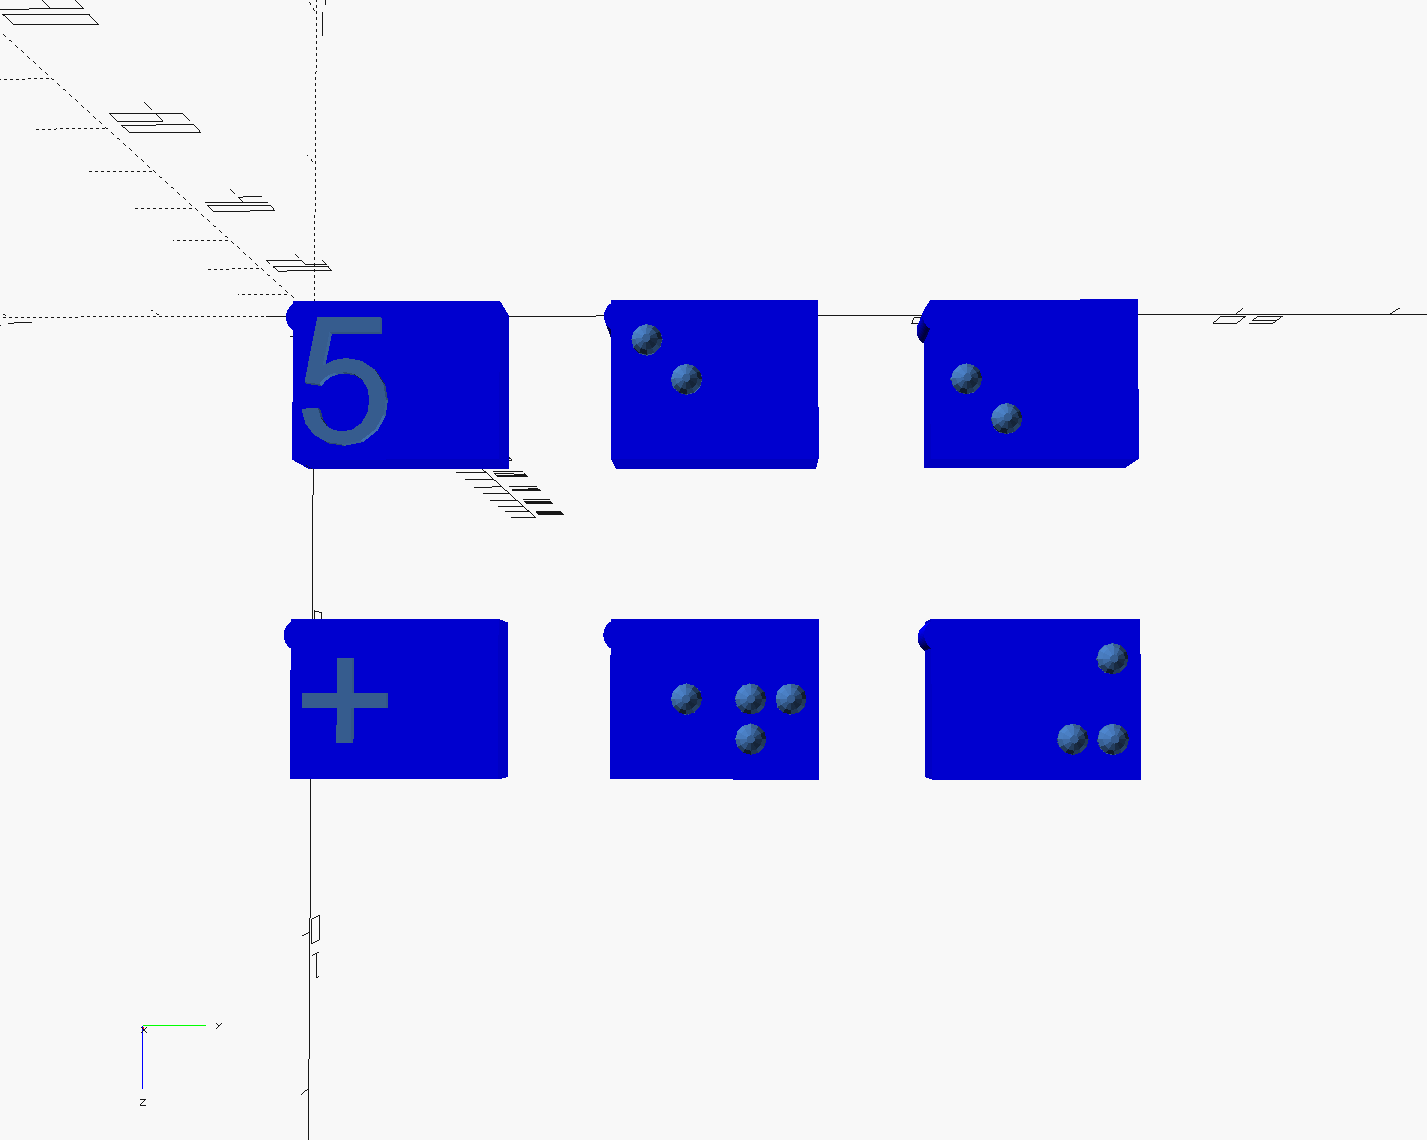
The project includes 3D-print files for a small lidded carrier and number tiles (0–9) plus operation tiles and blank filler tiles. Files are provided in both braille (UEB and Nemeth) and print-friendly versions. You can print using two filament colors to make the tactile frames and printed markings easy to distinguish for students with different needs.
Classroom use cases
- Multi-digit addition and subtraction practice — students gain confidence aligning two or three addends vertically, then work toward mental fluency.
- Multiplication mastery — the frame structure makes partial products and place-value alignment concrete, transforming a confusing process into a guided sequence.
- Division scaffolding — students practice long division without worrying about alignment, focusing instead on quotient estimation and remainder logic.
- Transition toward independence — over time, students internalize the alignment patterns from the frames and can work on paper without as much support.
- Differentiation by notation — some students work with frames using their preferred braille code (UEB or Nemeth), while others benefit from print versions or multi-code exposure.
Teaching tips
- Introduce one operation at a time — master addition frame alignment before moving to subtraction or multiplication so students develop stable mental schemas.
- Pair the frame with verbal narration — as students place tiles, have them say the column names (ones, tens, hundreds) so tactile, verbal, and spatial learning reinforce each other.
- Use the frames for checking, not just solving — after solving a problem on paper, students can rebuild it on the frame to verify alignment and catch errors.
- Keep materials accessible — a small labeled bin with the frame, tiles, and operation symbols makes frame-based practice a quick, low-friction classroom activity.
- Gradually fade the frame — once students are fluent, transition them to graph paper or a blank page, then phase out external structure as fluency deepens.
Getting Started
Getting started is simple — there are two ways to use these materials depending on what you prefer:
-
Quick download: If you just want the ready-made frames and 3D files, download the ZIP from GitHub and open the included README for simple print-and-use instructions: Download Structured Math Frames.
Note: the exported 3D print files are in the
exported_stlsfolder. Files intended for UEB braille end with_UEB.stl, Nemeth versions end with_Nemeth.stl, and the print-friendly versions end with_print.stl. -
Use the worksheet generator: If you’d like to create custom worksheets (different sizes, number ranges, or braille/print options), the project includes small scripts that guide you through creating them. On Windows the scripts use PowerShell (included by default). macOS and Linux users can run the provided bash or zsh scripts. The README included in the download explains step-by-step how to run the scripts — no advanced coding skills required.
Printing note: I printed these files with the braille raised to the side so the dots feel correct and are not sharp to the touch. I printed on a Bambu P1S using BambuStudio with default print parameters, but used a Generic PLA filament rather than Bambu-branded PLA (I used Filastruder PLA or Elegoo PLA because they fit my budget). Your slicer may require minor adjustments for your printer and filament; start with the defaults and tweak if needed.
Example images
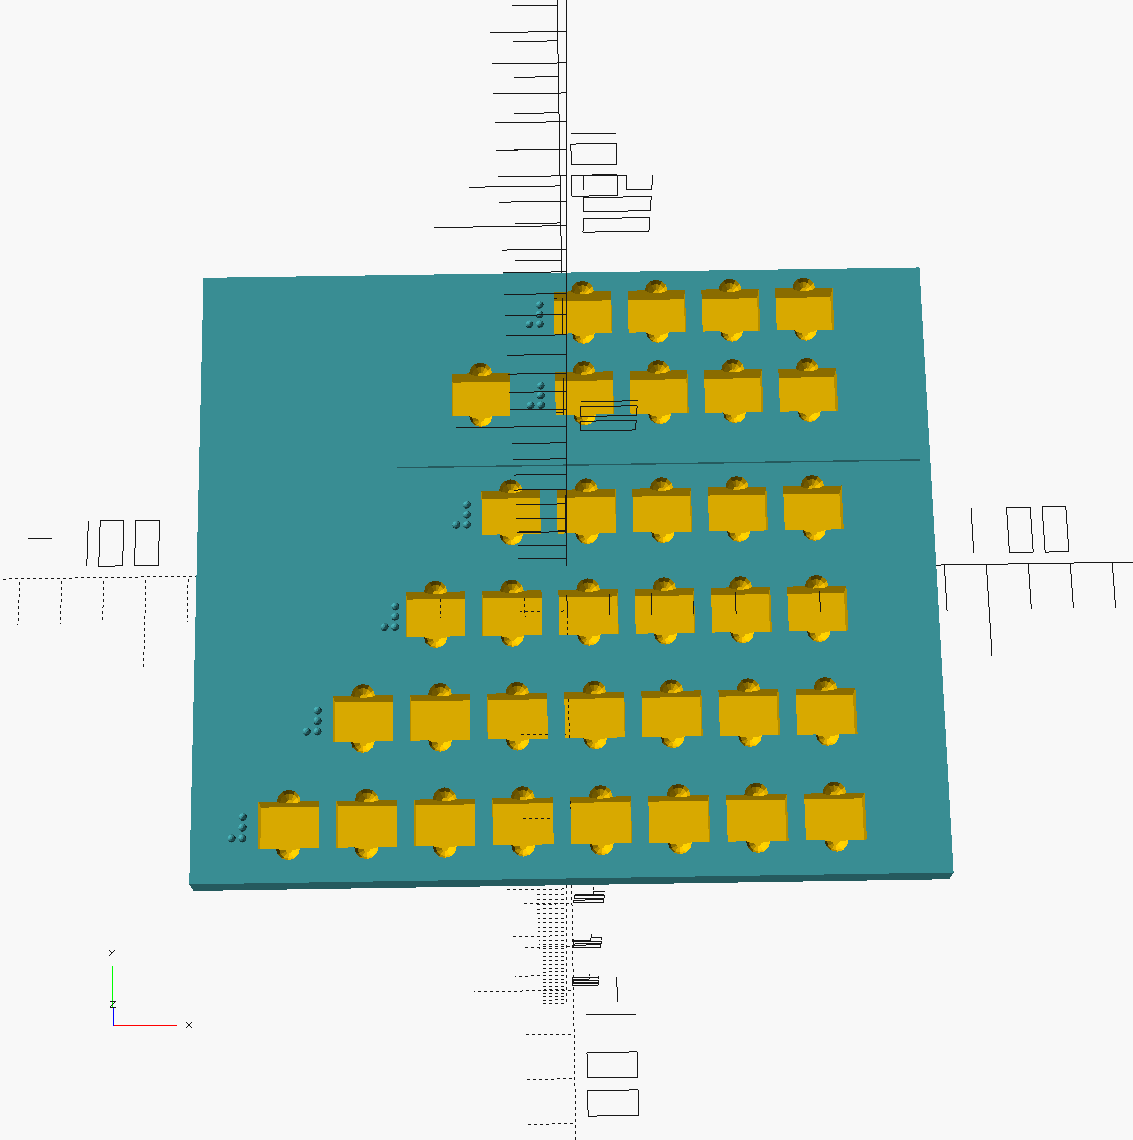
- Addition/Subtraction Frame (UEB braille):

- Multiplication Frame (UEB braille):
- Division Frame (UEB braille):

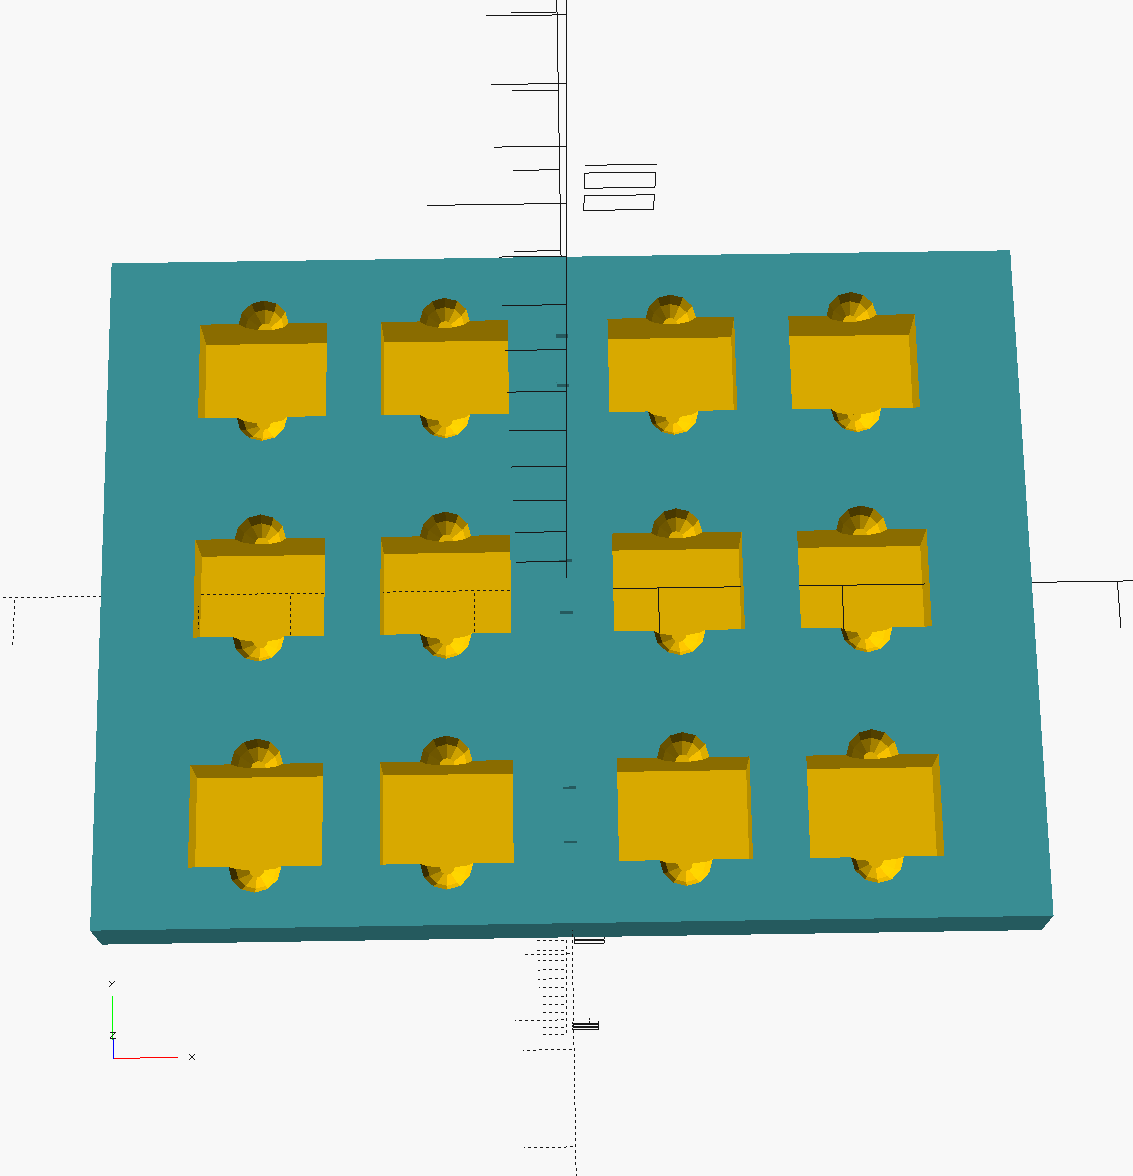
- Storage Bay:
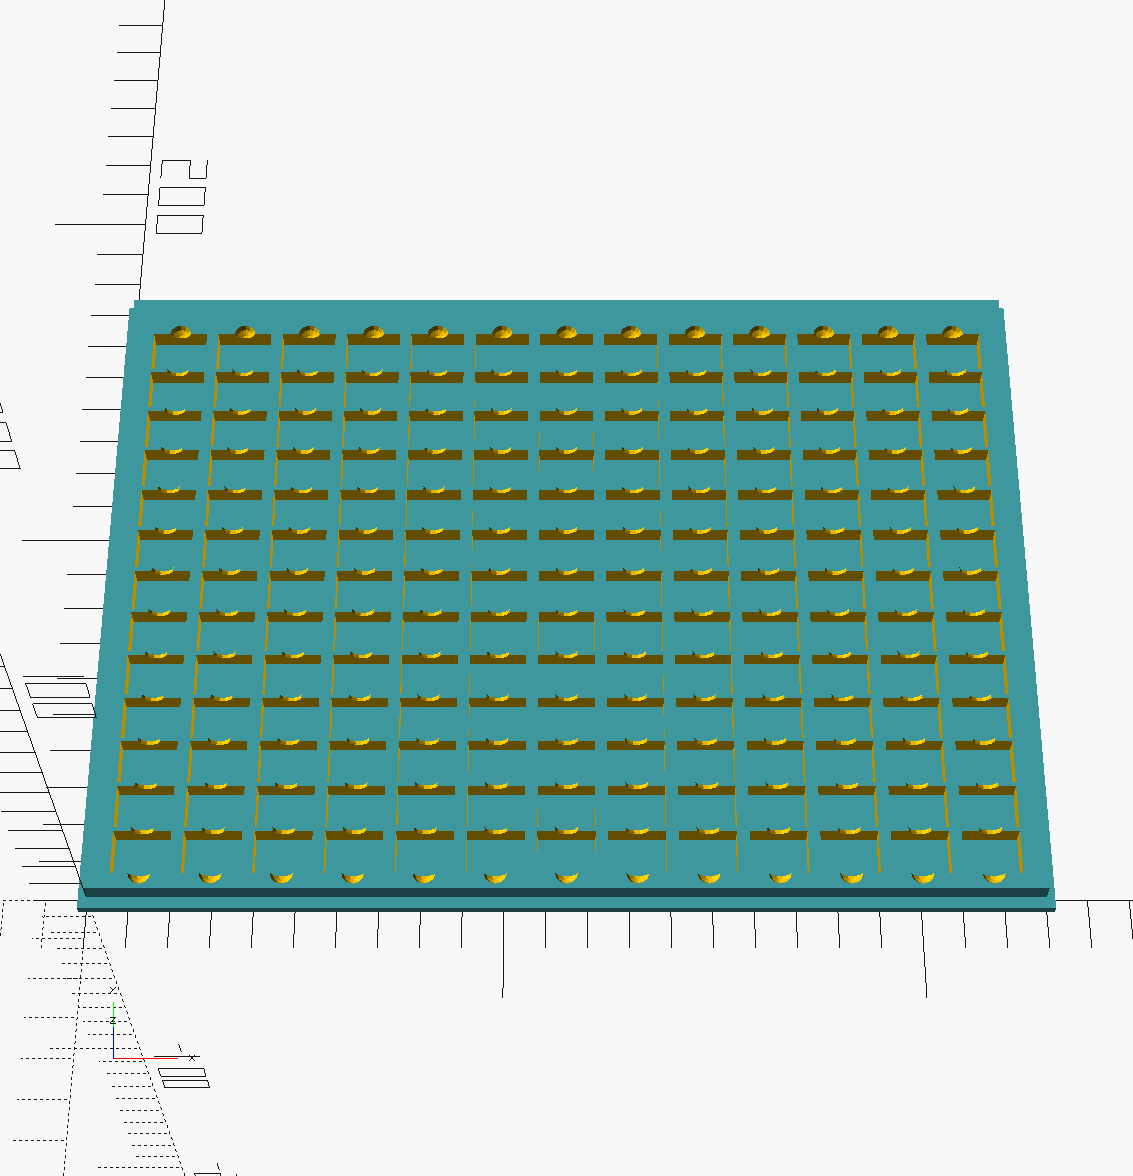
- Print, UEB, and Nemeth versions of number and symbol tiles:
- Time-Keeping Frame (UEB braille):
Customization and contribution
You are free to modify the frames to suit your needs. The project is open-source, and contributions are welcome. If you have ideas for new features or improvements, or if you find any bugs, please let us know by submitting an issue on GitHub or leaving a comment below. I appreciate your feedback and will do my best to address any issues promptly. You are also welcome to fork the repository and submit pull requests directly with your changes.
Advanced customization — editing the OpenSCAD source
If you want to customize the frames further (change sizes, spacing, or add new components), the project includes the OpenSCAD source file used to generate the 3D models. OpenSCAD is a free, open-source 3D modeling tool that uses code to create models. You can modify the structured_math.scad file to adjust dimensions or add new features, then re-export the STL files for printing.
The structured_math.scad file is set up for use with the OpenSCAD customizer, which lets you adjust parameters from the right-hand panel without editing code. To start customizing:
- Open
structured_math.scadin OpenSCAD (download the free version from OpenSCAD.org). - Open the Customizer panel (right side of the OpenSCAD UI).
- Change parameters like dimensions, spacing, or braille depth.
- Press F6 to fully render and F7 to export the STL file.
- Open the exported STL in a slicer (BambuSlicer, OrcaSlicer, PrusaSlicer, or similar) and print.
For more advanced changes (adding new components or modules), see the advanced customizer instructions in the README included in the download.
If you develop custom frames, lesson plans, assessment rubrics, or classroom integration guides, I’d be grateful for pull requests or contributions so other educators can benefit.
Leave a Comment
Note, I use Remarkbox for comments to prevent Disqus from showing ads or other methods requiring a GitHub login for participation in any discussions. Although you are asked for you email, there is no need to verify it through remarkbox in order to leave a comment. Verification is just so you can track discussions, etc. without the system treating you as a new person every time.